

_1722234839_WNo_1600d900.webp)
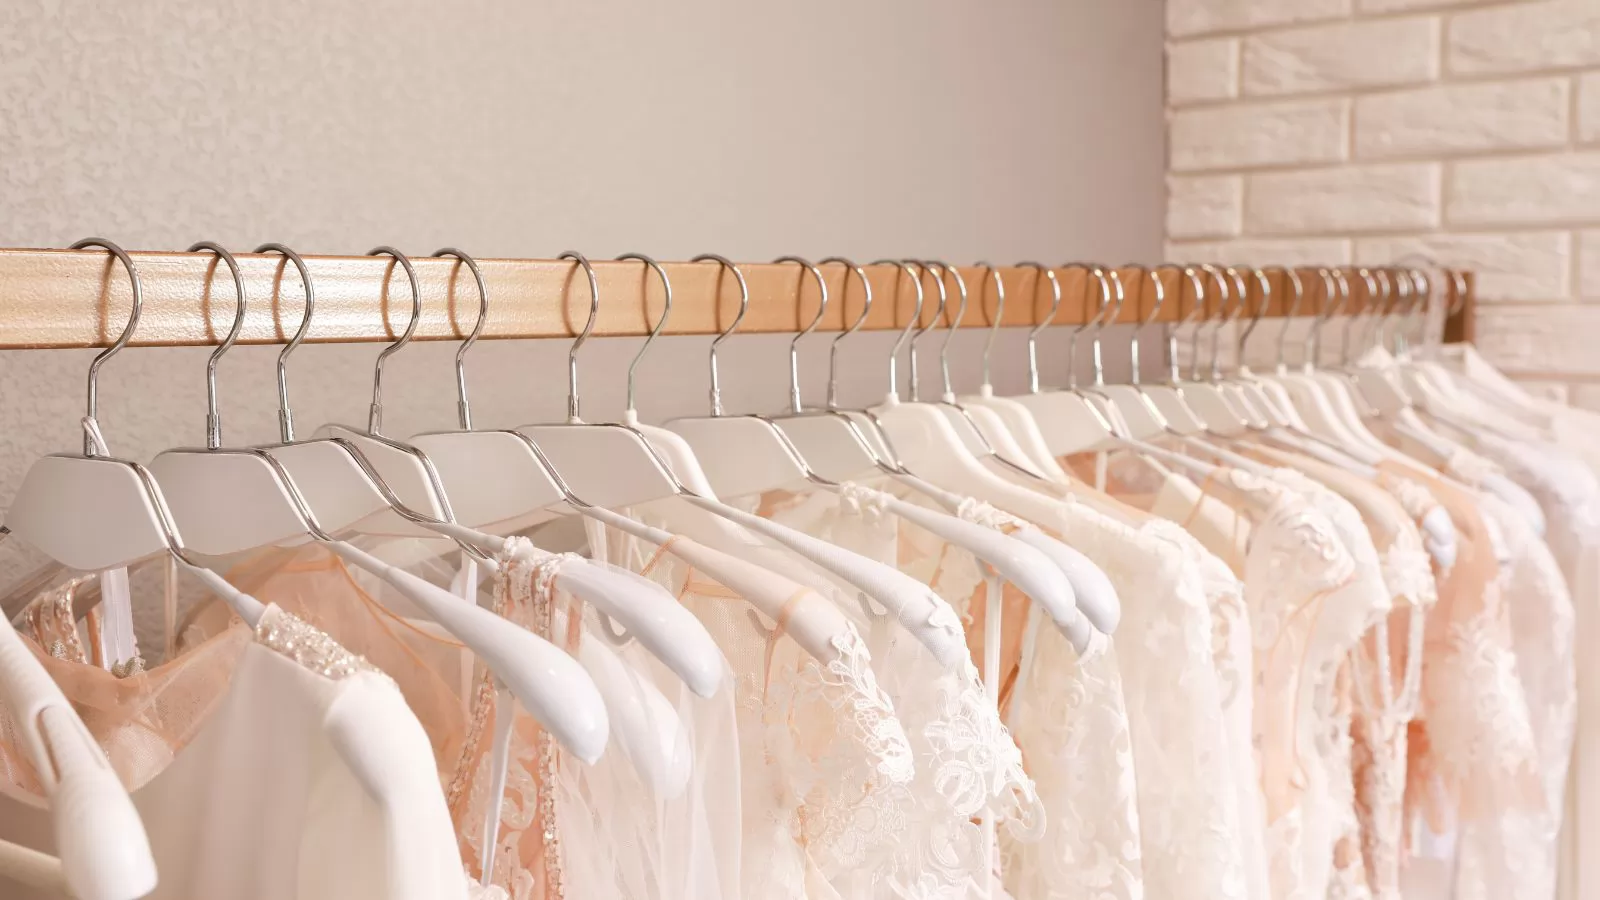
Creating personalized wedding hangers is a delightful and meaningful DIY project that adds a special touch to your wedding day. These hangers can be used to display your wedding attire and make for beautiful photo props. Here’s a comprehensive guide on how to make personalized wedding hangers.
● How To Make Personalized Wedding Hanger
Creating personalized wedding hangers is a charming and memorable DIY project that can add a special touch to your wedding day. These customized hangers not only look beautiful in photos but also serve as a keepsake for years to come. Here’s a straightforward guide to help you make your own personalized wedding hangers.
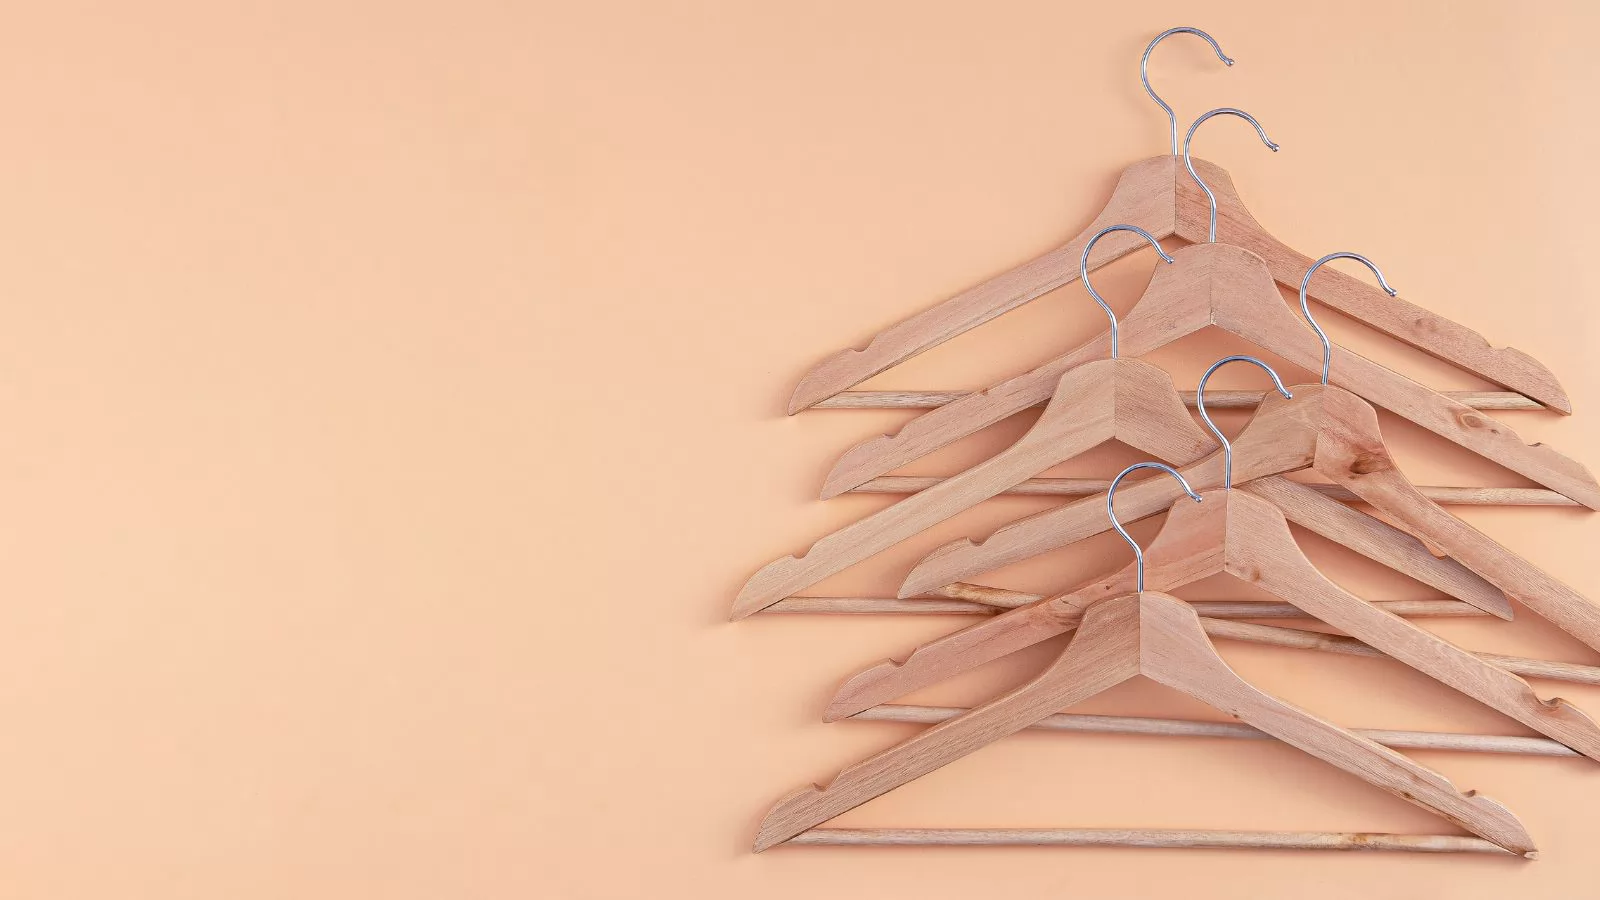
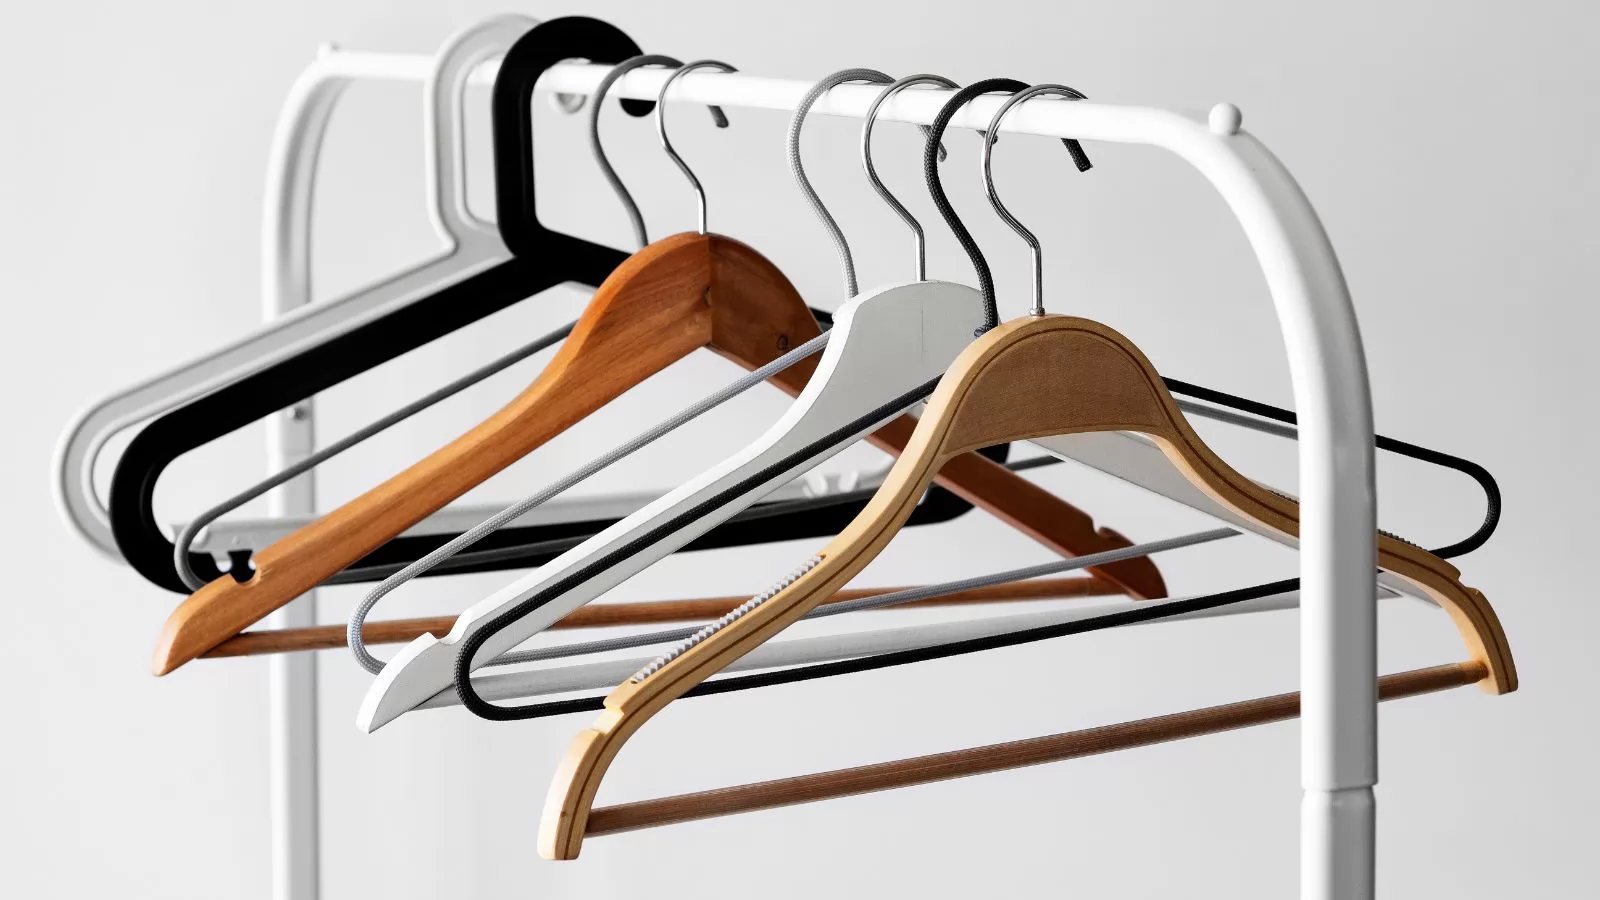
To start, gather high-quality wooden hangers as they provide a sturdy base and are easy to customize. Begin by preparing the hangers with sandpaper to smooth out any rough spots, ensuring a clean surface for painting or staining. Wipe away any dust after sanding to ensure the paint or stain adheres properly.
Next, decide whether you want to paint or stain your hangers. Acrylic paint offers vibrant colors and can be applied in multiple coats for a solid finish, while wood stain enhances the natural beauty of the wood grain. Apply your chosen medium evenly and allow it to dry completely before moving on to the next step. To protect your work, finish with a clear sealant which will also give the hanger a polished look.
Personalization is the key to making these hangers unique. Use stencils or vinyl letters to add names, dates, or special messages. Carefully place the stencils or letters on the hangers and use fine brushes for painting inside the lines. If you opt for vinyl letters, simply peel and stick them onto the hanger, making sure they are aligned properly.
For an additional personal touch, consider adding wire names or designs. Using pliers, shape a piece of wire into the desired name or pattern, and attach it securely to the hanger using a hot glue gun or by wrapping the wire ends around the hanger’s hook.
Enhance the hangers further with decorative elements like ribbons, lace, or fabric. These can be wrapped around the hook or base of the hanger and secured with hot glue. Add small embellishments such as pearls, beads, flowers, or charms to match your wedding theme and style.
As you work on your hangers, remember to be patient and allow adequate drying time between each step to avoid smudging or damage. Practicing your techniques on a spare hanger can also help you perfect your skills and ensure a professional finish.
By following these steps, you can create beautiful, personalized wedding hangers that add a special touch to your big day and serve as a cherished memento for the future. Enjoy the process and let your creativity shine through each custom detail.
Step 1: Preparing the Hangers
Start by selecting high-quality wooden hangers. Use sandpaper to smooth the surface, removing any rough spots or imperfections. This helps the paint or stain adhere better. Wipe off any dust with a clean cloth after sanding.
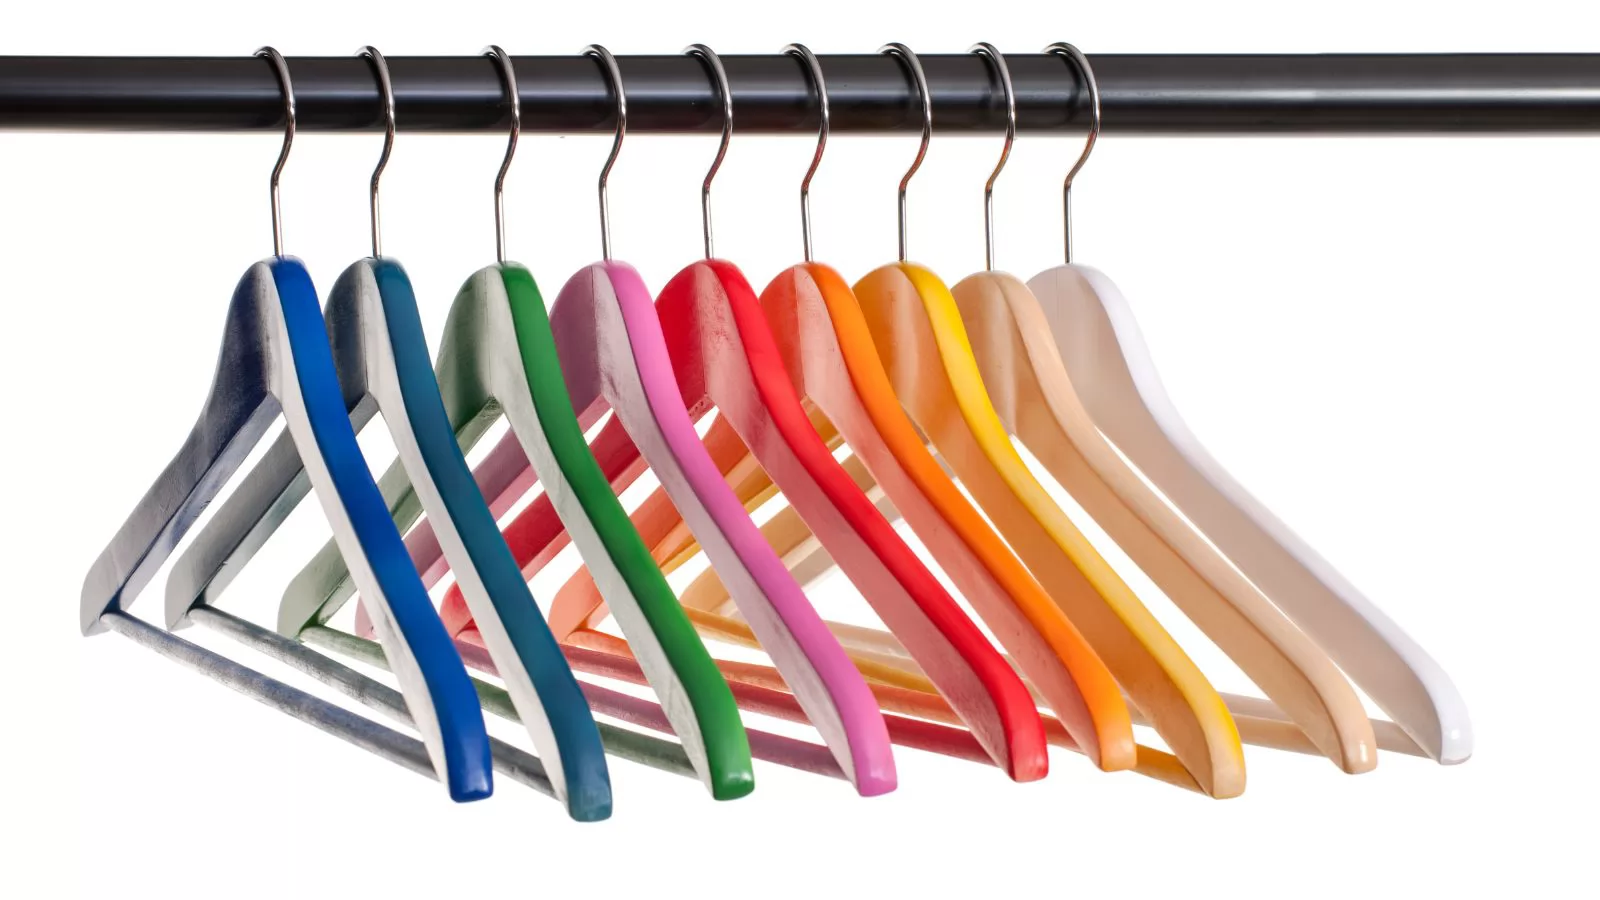
Step 2: Painting or Staining
Choose whether to paint or stain your hangers. For painting, apply a base coat of acrylic paint using a brush. Let it dry completely before adding a second coat if needed. For staining, use a wood stain that matches your desired color. Apply it evenly with a brush or cloth, and allow it to dry thoroughly. Once dry, apply a clear sealant to protect the finish and add shine.
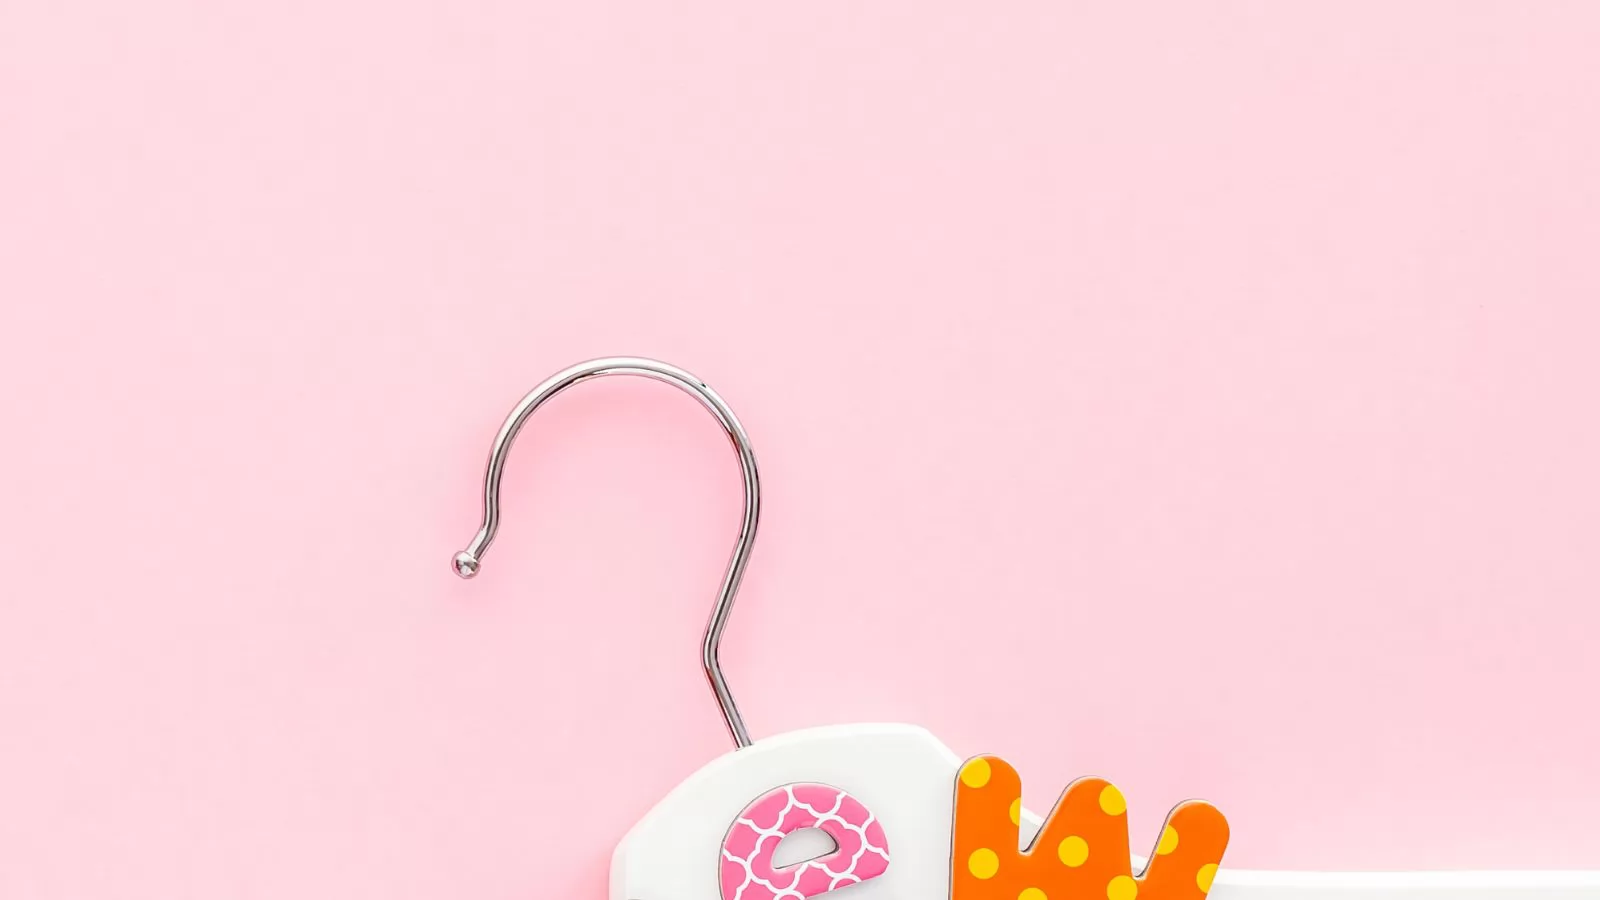
Step 3: Adding Personalization
Personalization is the heart of custom wedding hangers. Use stencils or vinyl letters to add names, dates, or special messages. Place the stencil on the hanger and carefully paint within the lines using a fine brush. If using vinyl letters, peel and stick them onto the hanger. Ensure that the letters are aligned properly by marking guide lines with a pencil and ruler beforehand.
Step 4: Creating Wire Names or Designs
For a unique touch, create wire names or designs. Cut a length of wire and use pliers to bend and shape it into the desired name or design. Make sure the wire is sturdy and will hold its shape. Once completed, attach the wire to the hanger using a hot glue gun or by wrapping the ends around the hanger’s hook securely.
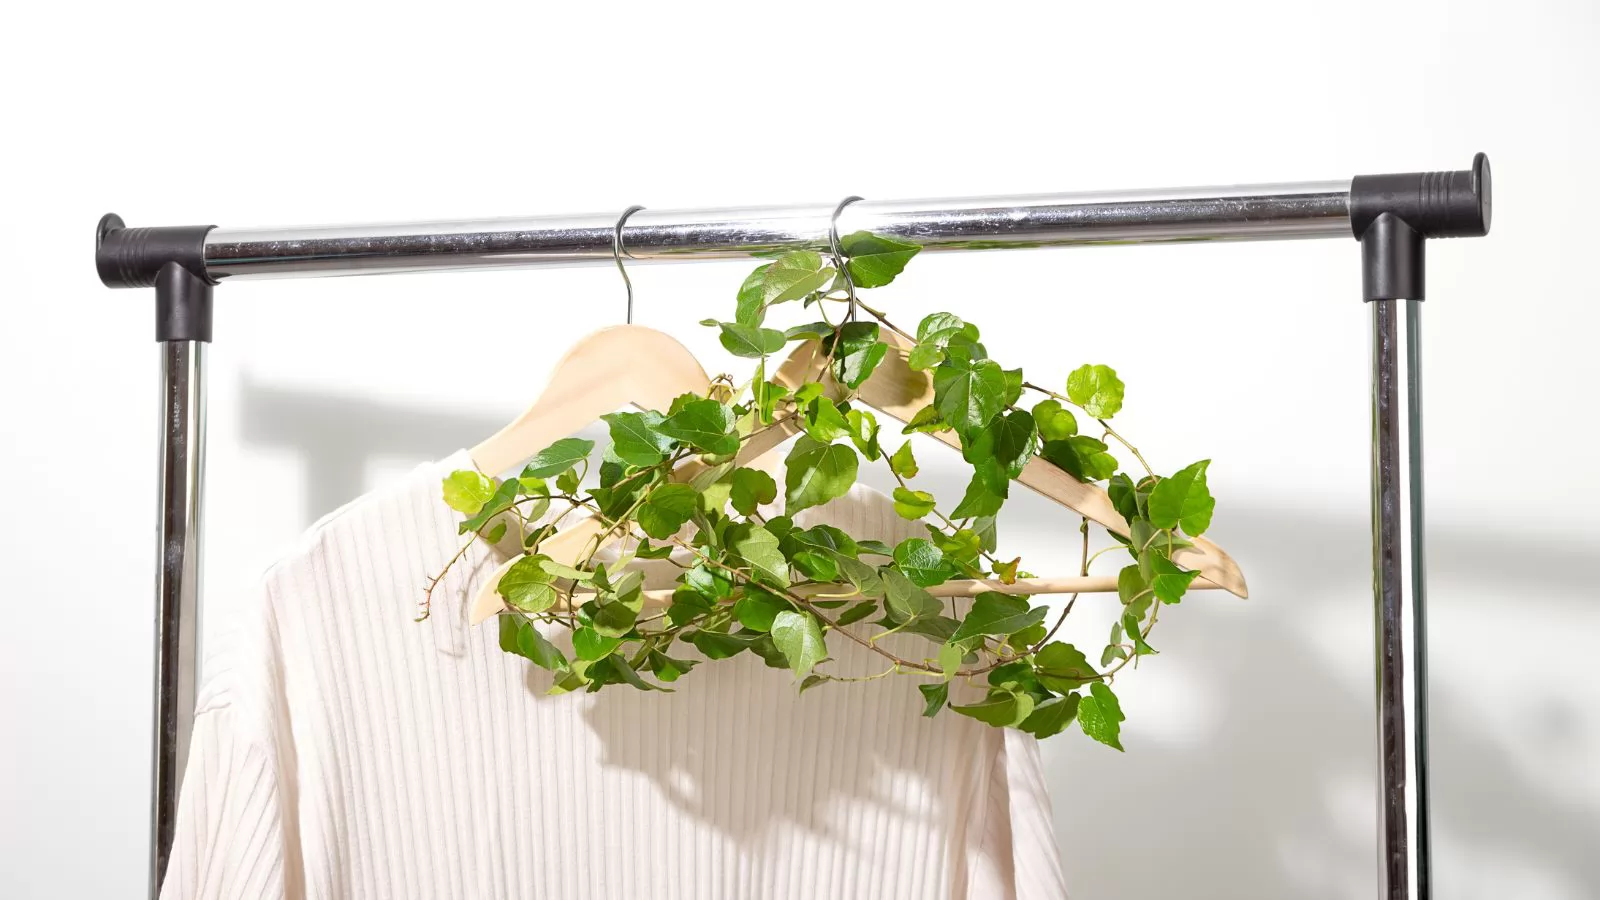
Step 5: Decorating with Ribbon, Lace, or Fabric
Add decorative elements such as ribbon, lace, or fabric to enhance the look of your hangers. Wrap the material around the hanger’s hook or base and secure it with hot glue. You can create bows or other decorative shapes to match your wedding theme. Experiment with different textures and colors to find the perfect combination.
Step 6: Adding Additional Decorations
Embellish your hangers with decorative elements like pearls, beads, flowers, or charms. Use a hot glue gun to attach these elements securely. Arrange them creatively to match your style or wedding theme. Consider adding small touches such as tiny flowers for a romantic feel or pearls for a classic look.
Step 7: Final Touches
Inspect your hangers to ensure all elements are securely attached and the paint or stain is even. Apply a final coat of clear sealant if necessary to protect the decorations and give the hanger a polished finish. Allow everything to dry completely before using the hangers.
Plan Your Design: Sketch out your design ideas before starting to ensure you have a clear vision. Consider different color schemes, patterns, and decorative elements that will match your wedding theme or personal style.Before you start working on your personalized wedding hangers, take some time to sketch out your design ideas. This step is essential for ensuring you have a clear vision of the final product. Consider different color schemes that complement your wedding theme or your personal style. Think about incorporating patterns or motifs that are significant to you and your partner. Additionally, decide on any decorative elements you want to include, such as ribbons, lace, or small charms. Having a well-thought-out design plan helps you stay organized and ensures that you gather all the necessary materials before starting the project.
Practice on a Spare Hanger: If you’re new to painting or wirework, practicing on a spare hanger is a wise move. This allows you to familiarize yourself with the techniques and materials you'll be using. By practicing, you can identify any potential challenges and find solutions before working on your actual wedding hangers. This step helps you avoid mistakes and build confidence in your skills. Whether you’re painting intricate designs or bending wire into names, getting some practice in first ensures that your final product looks professional and polished.
Use Quality Materials: Investing in high-quality materials is crucial for achieving the best results with your personalized wedding hangers. High-quality paint and stain provide better coverage, richer colors, and a smoother finish. Additionally, superior decorations, such as durable ribbons and charms, will look more elegant and withstand the test of time. Using quality materials not only enhances the appearance of your hangers but also ensures they remain beautiful and intact for years to come. Skimping on materials might save money initially, but it could lead to a less satisfactory outcome.
Be Patient: Patience is key when creating custom wedding hangers. Allow adequate drying time between each step to prevent smudging or damage. This means waiting for the paint or stain to dry completely before moving on to the next layer or adding decorations. Rushing through the process can result in imperfections such as streaks, bubbles, or uneven finishes, which can detract from the overall look. By taking your time and letting each stage dry properly, you ensure a smooth, professional finish. Remember, the effort and patience you invest will be reflected in the quality and beauty of the final product.
Creating personalized wedding hangers is a rewarding DIY project that adds a unique and meaningful touch to your special day. By following this guide and using high-quality materials, you can create beautiful, custom hangers that will be cherished keepsakes for years to come. Enjoy the process and let your creativity shine!
If you need a reliable hanger manufacturer, then it is recommended to contact Eisho. Eisho is a professional manufacturer and exporter of designing and manufacturing hanger products.


.png)

